

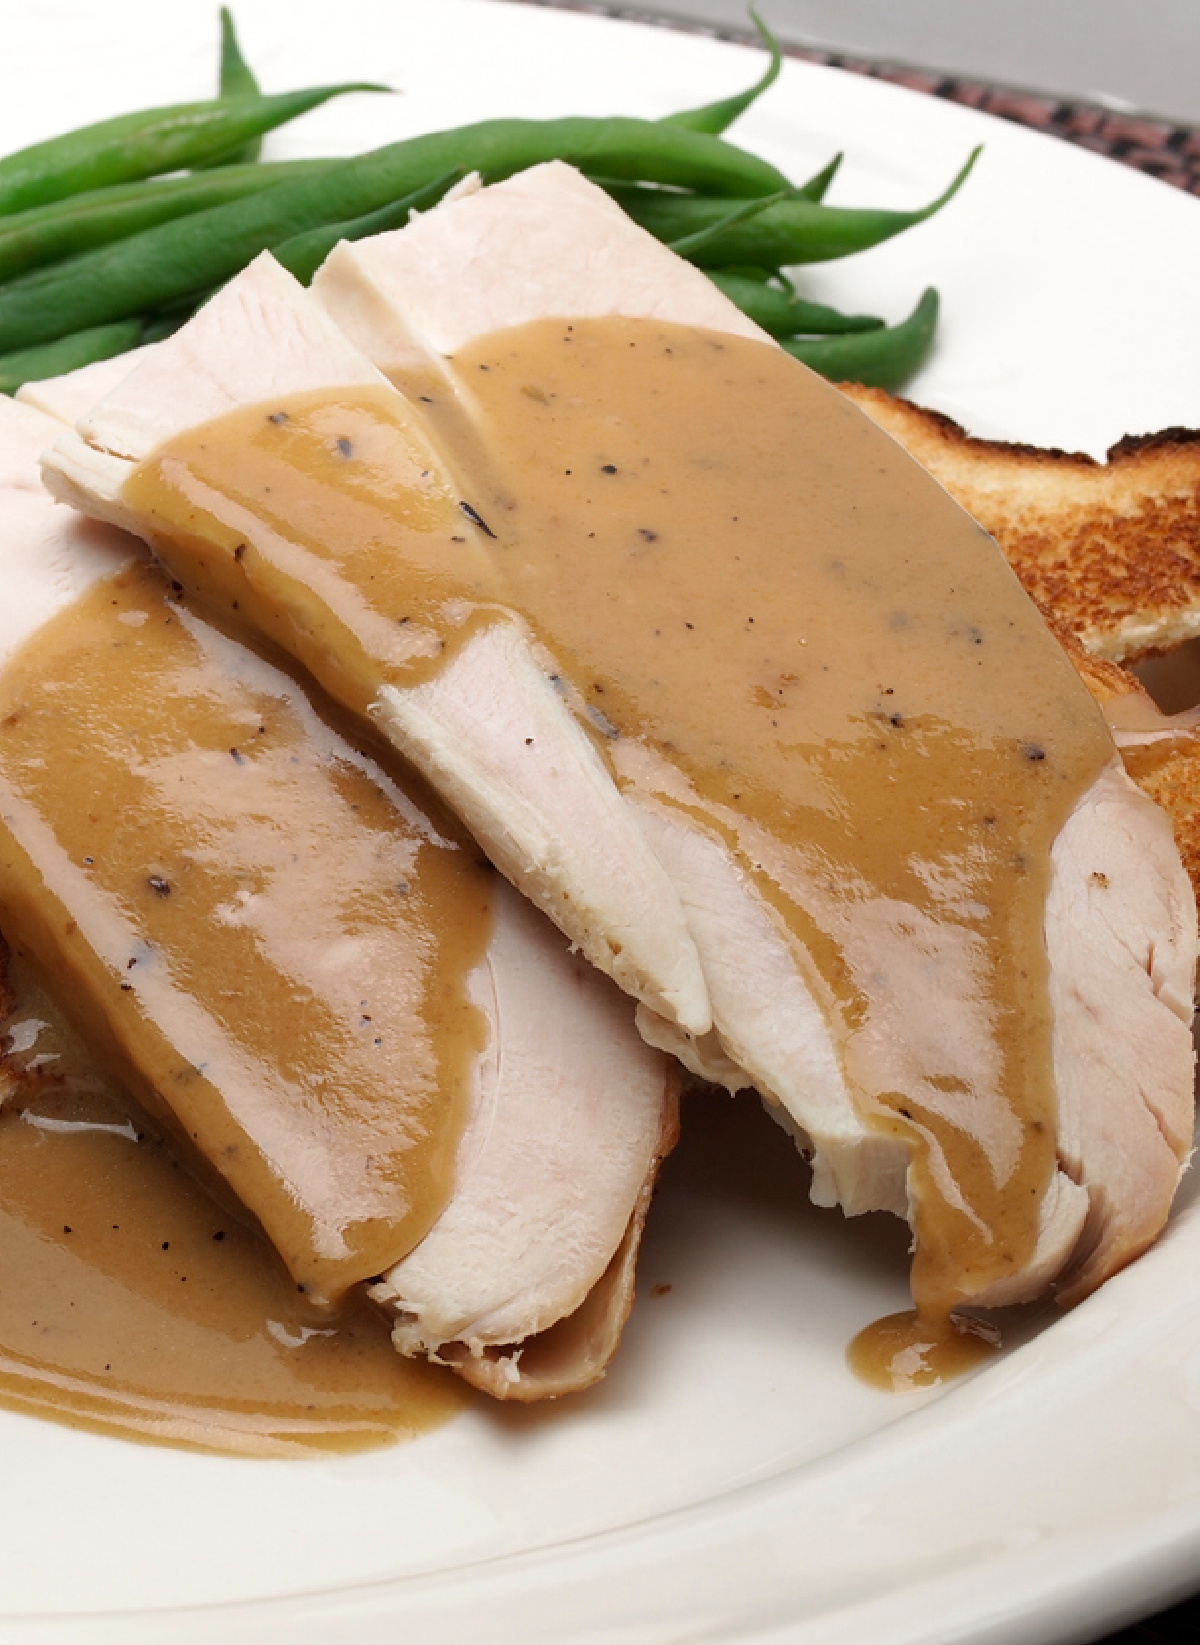
Thanksgiving just wouldn’t be the same without that rich blanket of Turkey Gravy drizzled over your warm turkey and mashed potatoes. If you’re wondering how to master this essential holiday condiment you’re in the right place.
Surprisingly, I realized we haven’t shared a basic gravy recipe on our food blog yet. I guess I assumed many of you had your own go-to recipes and techniques. However, after receiving many emails these past few weeks asking for my family’s recipe, I’m happy to share it with you today.
Before we dive into the step-by-step process of creating homemade gravy, let’s explore the 2 different ways to make it. The foundation of great gravy often begins with drippings from the turkey, a roux, and liquid (whether it be broth, milk or a combination).
On the other hand, gravy can be prepared without relying on any turkey (or chicken) drippings. The recipe we are sharing with you today is created from the drippings of a turkey. I do, however, plan on posting the recipe my mom uses to make gravy from roasting chicken wings.
But, for now, on to our gravy.
How to Create Velvety Smooth Turkey Gravy From Pan Drippings:
- Step 1: Deglaze the Pan – After your turkey has been roasted, it’s time to take those pan drippings and turn them into a flavorful gravy. Start by placing the roasting pan on the stovetop over medium heat. The key here is to “deglaze” the pan, which means loosening and dissolving the flavorful bits that have clung to the bottom during roasting. This process is what imparts a deep, rich taste to your gravy.
- Step 2: Skim Fat – As you’re heating the drippings, you may notice some fat rising to the top. You’ll want to use a spoon to skim some of it, leaving behind about a quarter cup in the pan. This fat will become the foundation for the gravy.
- Step 3: Create the Roux – Sprinkle about ¼ cup of flour evenly over the fat in the pan. Whisk it consistently, ensuring the flour and fat come together. This roux is what will give your gravy its desired consistency.
- Step 4: Cook the Roux – Continue cooking the roux, all the while stirring. You’ll want to give it about 2-4 minutes until it reaches a light golden hue. This step is pivotal as it helps to cook off the raw taste of the flour and develops a nutty flavor, which contributes to the depth of your gravy. (*See below for more details).
- Step 5: Incorporate Broth – Gradually pour in 3-4 cups of chicken broth while whisking consistently. The broth will begin to blend with the roux as well as soak up the savory remnants at the bottom of the pan.
- Step 6: Simmer and Thicken – Gently bring the mixture to a simmer, stirring as you go. It’ll take about 5-10 minutes, during which time your gravy will thicken up, creating that perfect consistency that beautifully coats your turkey and sides.
- Step 7: Season, Serve and Enjoy – It’s time to give it one last taste and add any additional salt or pepper as needed.
Achieving the Right Gravy Darkness
Achieving the right darkness for your turkey gravy is a balancing act between roux color, pan drippings, broth, and cooking time. It also depends on how dark you personally like it. Some people prefer a darker gravy, while others prefer a lighter gravy. A light to medium gravy compliments the natural turkey flavor, while a darker gravy provides a more robust, earthy taste.
1. Roux Color: The roux, which is a mixture of fat and flour, is a crucial factor in determining the color of your gravy. A shorter cooking time (2-5 minutes) will result in a blonde roux, which yields a light to medium gravy. A longer cooking time (5-10 minutes or more) creates a brown roux, leading to a darker and more robust gravy.
2. Pan Drippings: The drippings from your roasted turkey also influence gravy color. If the turkey was roasted to a brown color, the pan drippings will be darker, leading to a darker gravy.
3. Broth Color: The type of broth used can affect gravy color. Darker broths, such as richly colored turkey or homemade chicken broth, can naturally darken the gravy.
4. Cooking Duration: Simmering the gravy for a longer duration can cause it to darken as it reduces and concentrates the flavors. Be mindful of this if you want to maintain a lighter color.
5. Browning Agents (Optional): I grew up watching my mom and Grandma use a browning agent called Gravy Master to enhance the color of the gravy. Browning agents should be used VERY sparingly, as they can quickly darken the gravy, but this is still my go-to method, even today.
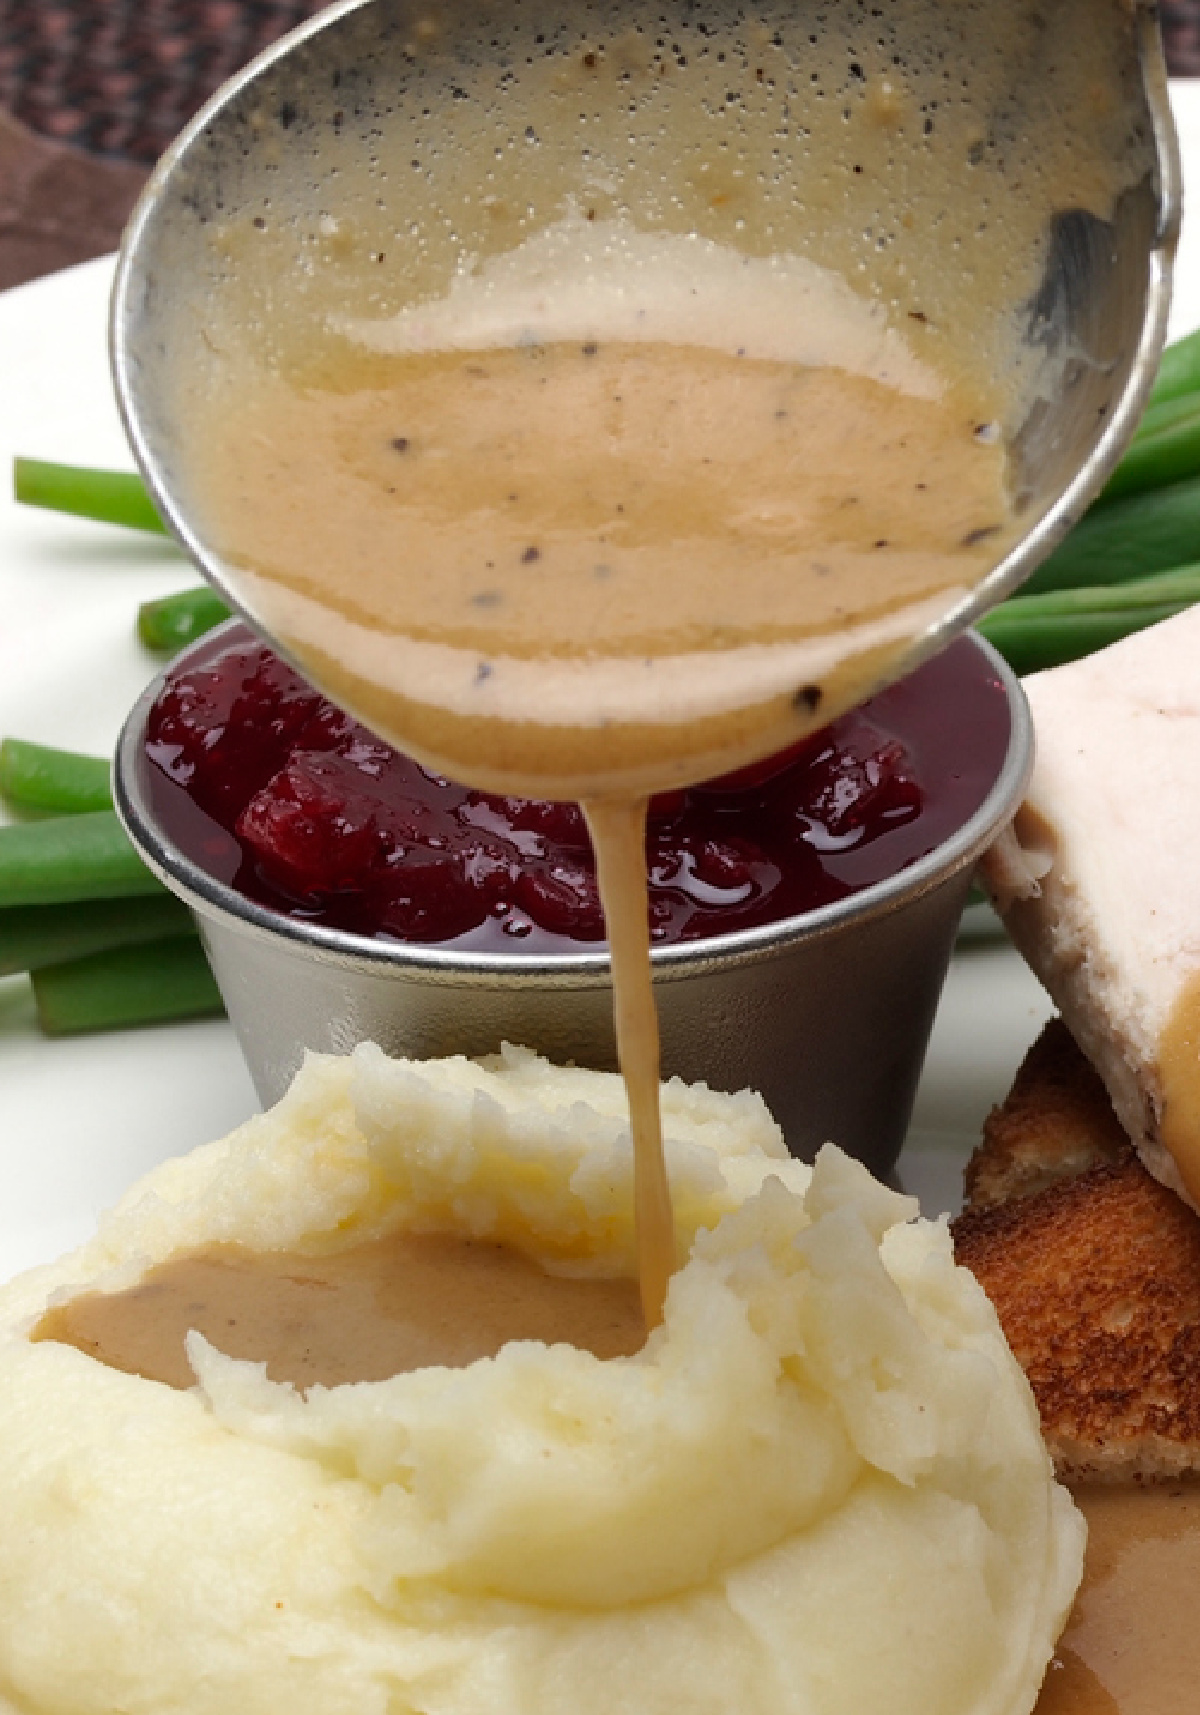
What Goes with Gravy? Glad you asked:
- Mashed Potatoes: Mashed potatoes are a comforting classic, and pairing them with our turkey gravy elevates this side dish to creamy perfection.
- How to Make a Turkey Breast in the Crockpot: A slow-cooked turkey breast in the crockpot offers tender, flavorful results, and drizzling it with our rich and savory gravy makes it a complete, no-fuss meal.
- Easy Slow Cooker Stuffing: Our turkey gravy is the ideal accompaniment for this easy slow cooker stuffing, creating a harmonious blend of flavors and simplifying your holiday meal preparation.
I’m truly delighted to have shared the secrets of making my families gravy recipe with you. I hope this gravy adds a special touch to your holiday gathering, creating warm, memorable moments with family and friends.
CLASSIC ROASTED TURKEY GRAVY
Like this recipe? Pin it to your THANKSGIVING board!
Tried this recipe? Please leave a star ⭐️⭐️⭐️⭐️⭐️ rating in the recipe card below and/or a review in the comments section further down the page. And consider following me on Facebook and Pinterest!
Print
Classic Roasted Turkey Gravy
- Total Time: 6
- Yield: 2 – 2 ½ cups 1x
Ingredients
- Pan drippings from Roasted Turkey
- ¼ Cup All-purpose Flour
- 4 Cups Chicken broth
- Salt and freshly ground black pepper to taste
- 2–3 sprigs of Fresh Thyme or 1-2 Fresh Rosemary sprigs (optional)
- 1 bay Leaf (optional)
- 1–2 splashes Gravy Master (for color – optional)
Instructions
- Deglaze the Pan: After you’ve roasted your turkey or chicken, transfer it to a cutting board to rest. Place the roasting pan with the drippings on the stovetop over medium heat.
- Skim Fat: While heating, skim off most of the fat, leaving about ¼ cup in the pan.
- Add Herbs: If you’re using fresh herbs, tie them together with kitchen twine to make a bouquet garni. Drop the herb bundle (thyme or rosemary) and a single bay leaf into the pan with the drippings. This step infuses the gravy with subtle herb flavors.
- Whisk in Flour: Sprinkle the all-purpose flour evenly over the fat in the pan. Whisk continuously, incorporating the flour into the fat and herbs. This creates a roux, a thickening agent for your gravy.
- Cook the Roux: Continue to cook the roux, stirring constantly, for about 2-3 minutes until it turns a light golden color.
- Add Broth: Gradually pour in the turkey or chicken broth, whisking to combine. This helps create a smooth mixture. If desired, remove the herb bundle (bouquet garni) and the bay leaf at this stage.
- Simmer and Thicken: Bring the mixture to a gentle simmer. Keep stirring as the gravy thickens. This should take about 5-10 minutes. The gravy will continue to thicken as it simmers. Add 1-2 spashes of Gravy Master, if using.
- Season to Taste: Taste the gravy and add salt and freshly ground black pepper as needed to suit your preferences.
- Prep Time: 1 minute
- Cook Time: 5-10 minutes
Nutrition
- Serving Size: ¼ cup
- Calories: 30-40
- Sodium: varies based on broth
- Fat: 2-3 gr
- Saturated Fat: 1-2 gr
- Carbohydrates: 2-3 gr
- Protein: 1-2 gr
- Cholesterol: 10-15 mg


I’m having Thanksgiving this year, my first! I needed a gravy recipe and none of your recipes fail Deb. I’m using this one. I can’t wait.